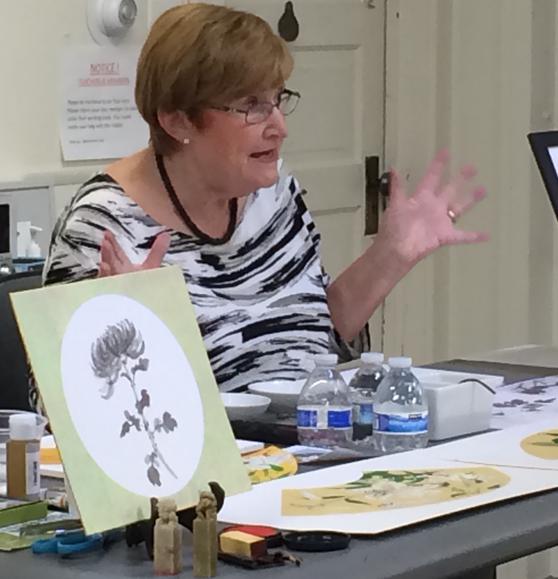
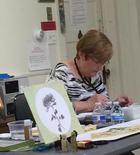
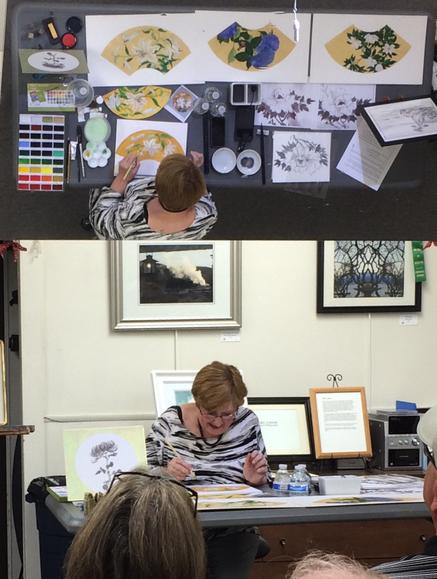
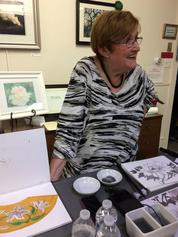
Glenys Baulderstone's demo was a revisit and second installment of her popular Japanese Sumi-e Brush Strokes demonstration. Glenys finds this traditional, methodical form of painting very relaxing, a soothing, calm therapy for the mind. She learned this method while living in Japan, years ago.
The equipment, brushes, inks, paints and subject matter are very traditional and artists spend much of their time practicing the specific brush strokes and shapes. Artists learn from the master artists and only copy their work, as to create a 'new' subject would be considered too 'egotistical '.
Beginning artists start with brush strokes, then advance to flowers, then trees, scenery, animals and finally people. The traditional paintings are simple, yet intricate, disciplined and soothing to paint.
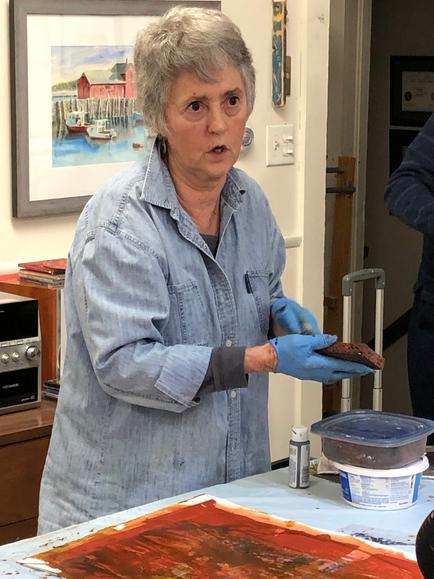
A terrific example of "inventive" painting - transforming a warm weather scene of a photo into a cold winter painting on canvas, as demo'd by Ellen Gavin on July 9th.
Ellen also had an oil painting workshop on August 20th & 21st.
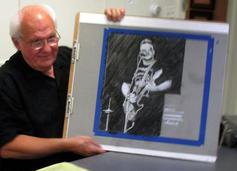
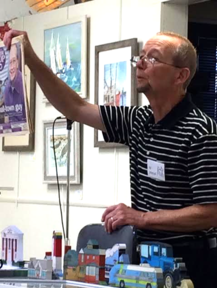
Al Stietzel has been doing his miniature facades since the early 1990's and has tweaked and perfected his multi-step process methods over the years. He starts by developing a linear picture of his subject, usually by taking photos of the front and both sides of the buildings/objects he's creating the facade. Many times the angle of the building or overgrown trees or shrubs may obscure part of the facade view, so taking photos of each side will better enable the entire facade to be accurately developed. Sometimes roof angles or building front views are exaggerated to enable the linear picture to be created.
Once the linear drawing is developed, Al draws all critical lines in ink, sparing no detail. He stated that some commissioned pieces have specified that items be shown on a porch, such as a sled or rocking chair, etc. to give the facade a more personal look. Al is always interested in the historical aspects of any structure he may do, and will research original color schemes or hardware details such a hooks to hold back shutters.
Once he has the drawing inked, he will make a computer scanned copy of the drawing and print it out in the appropriate scale (a reduction in size of the original drawing will sharpen all lines and drawing details). The printed version is then hand colored using felt tipped or watercolor markers. He prefers to use non-professional children sets of markers, as the pens dry out faster enabling him to go over certain areas to produce darker shades of color to create the correct shadows he wants on the finished facade. He next glues the colored paper version to a flat piece of clear pine board using a clear water-based sealer called Mod Podge. Once the drawing is dry, he carefully cuts the outlines of the facade using a bandsaw (note: a jig or scrollsaw will tear the paper drawing on the upstroke of the blade, but not with a bandsaw as the blade only travels in one direction). After the facade is cut out, he will carefully sand any rough edges using an Emory board, and then coats all edges, front and back of the pine several times to seal in the moisture in the wood, which prevents the wood from warping or checking, etc.
His final step is to add a description of the facade on the rear side using the Mod Podge to glue/seal it to the piece.
****
Most of Al's work has been of historical houses or buildings in the area such as churches. He has been commissioned to do copies of antique cars, recreational vehicles, boats, and a statue. In 1992 he did the facade of the Island Heights Artists Guild where he has been a member for decades, and to this day they are still using his ink drawing of the Guild building on their stationary.
His largest commission order was of a specific church where he was asked to make 100 copies to be used as a fundraiser. Once the first copy of the church was made, Al was able to create 10 units at a time, to speed up his process. He still will occasionally do a commissioned facade, but has personal commitments now that limit the time he can devote to his craft.
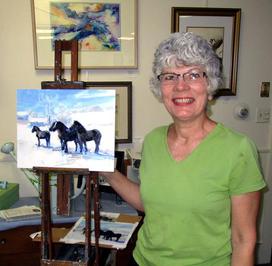
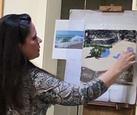
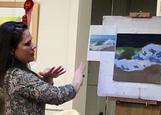
ReneeLeopardi finds inspiration in the local seasonal landscapes of southern New Jersey; from the ocean and marshes to creeks and woods to farmland. When the weather isn’t so friendly, she and her painting friends move indoors to work on still life or the figure.
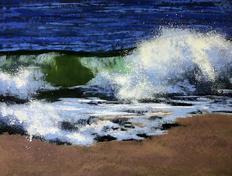
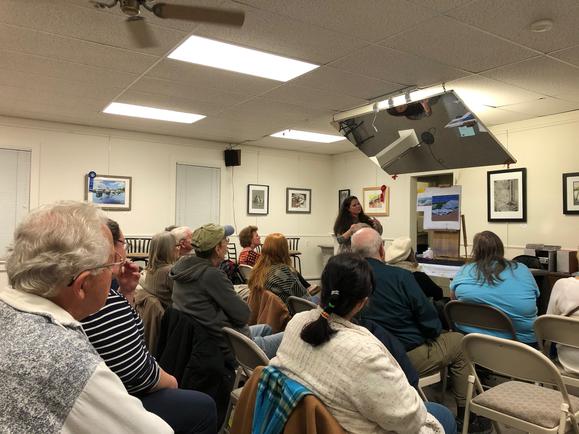
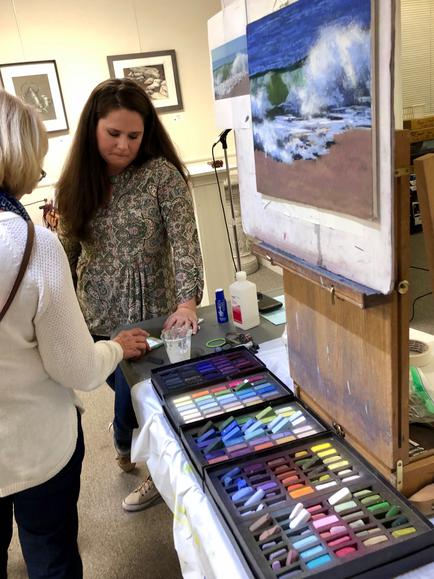
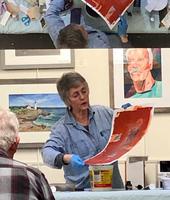
At last night's demo, Renee Leopardi created a gorgeous breaking wave pastel painting with her easy-going, fun to watch style!
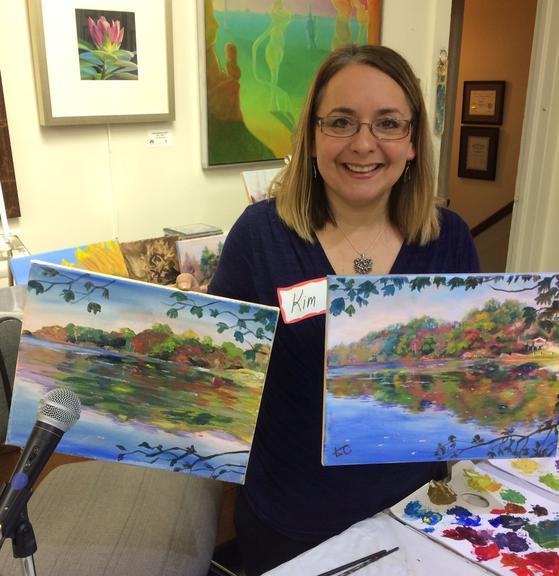
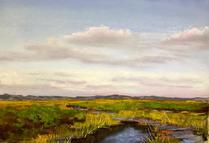
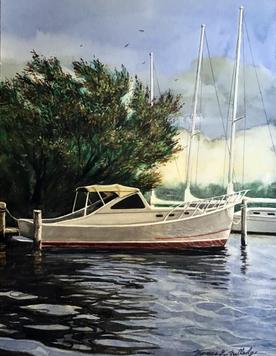
Here is the painting 'Quiet Cove' Tom did on zoom in February as a watercolor demo. On a recent sketching trip along the banks of Toms River he made a series of drawings which were the inspiration for this painting.
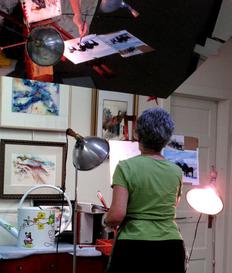
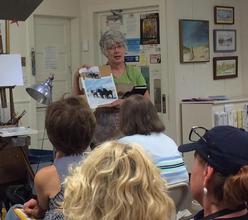
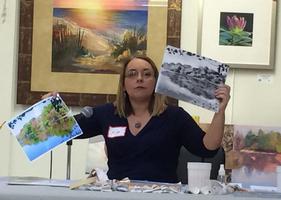
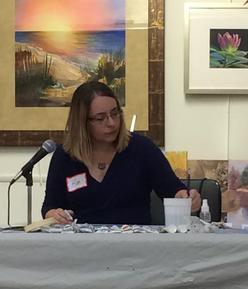
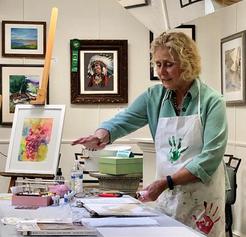
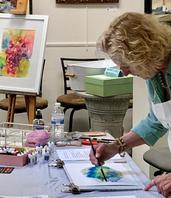
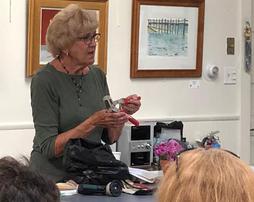
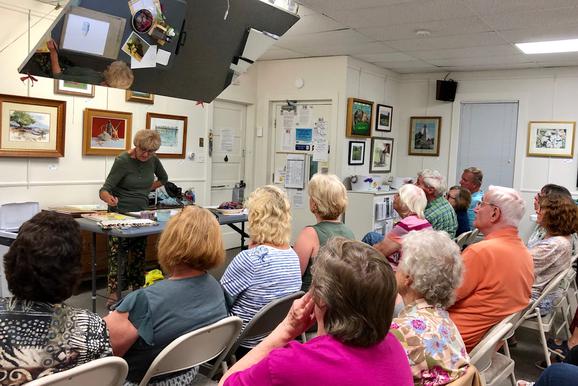
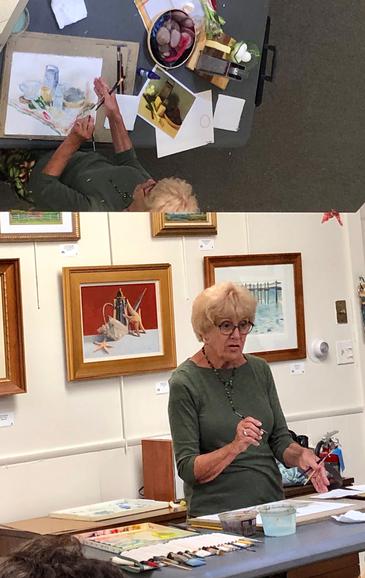
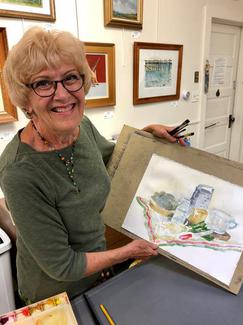
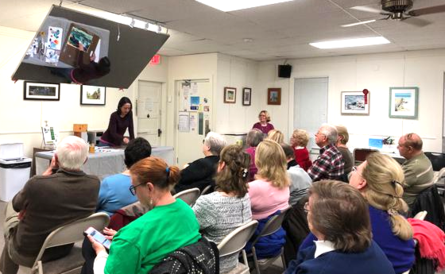
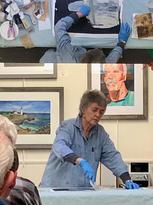
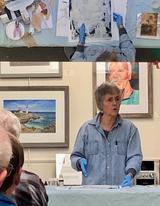
Here are a few photos from Carol Freas’ watercolor Demo at the Pine Shores Art General meeting.
Prior to her painting demo, she explained how to set up some simple, but interesting and fun still lifes using everyday objects from one’s house, kitchen, garden shed, garage or closet!
Photos by Paul Hartelius
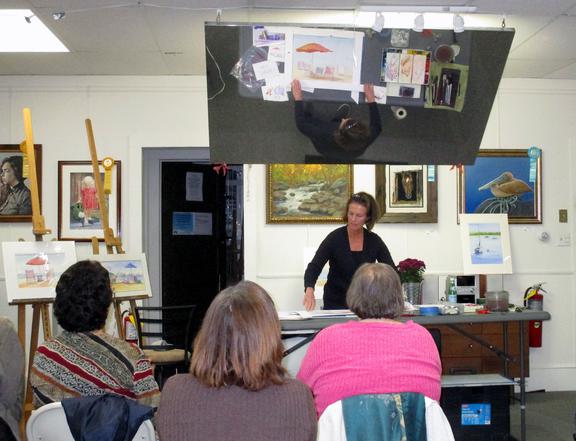
On a Monday evening last Fall, Jill presented “Post Mortem of a Failed Painting”. She showed you how to break a painting down to the obvious and not so obvious elements so as to figure out just where you’ve gone wrong.
There will be a one-hour crash course in a future workshop “Problem Solving for Painters".
The course applies to all media and is open to anyone with a failed painting that they would like to improve on or “do over” so it finally delivers on the glorious masterpiece you had in your head when you first tackled the subject.
The class will focus on one day of analysis and three classes of recreating your masterpiece, only better. Class is open to oils, gouache and acrylic.
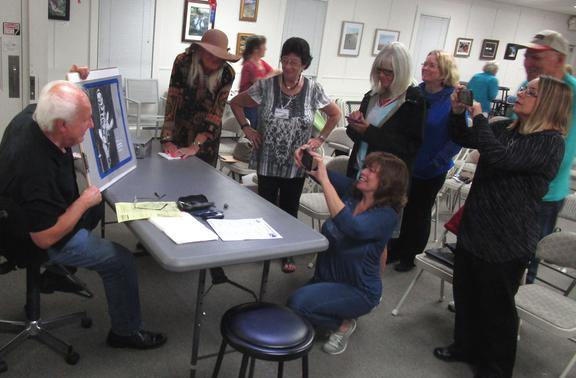
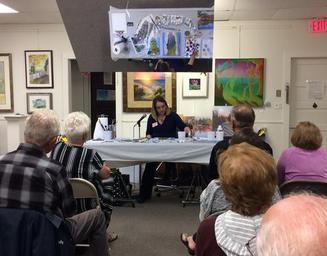
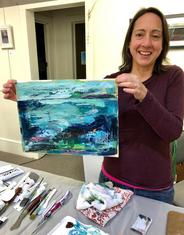
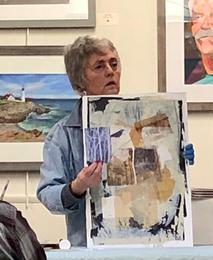
Nancy Barch closed last March's members meeting with an intriguing multi-media collage demonstration.
Photos by Paul Hartelius
40
ANNIVERSARY
th
PSAA's
Demos
PINE SHORES ART
A S S O C I A T I O N
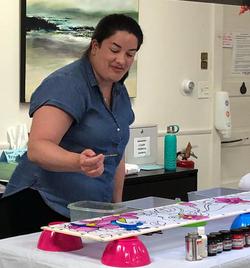
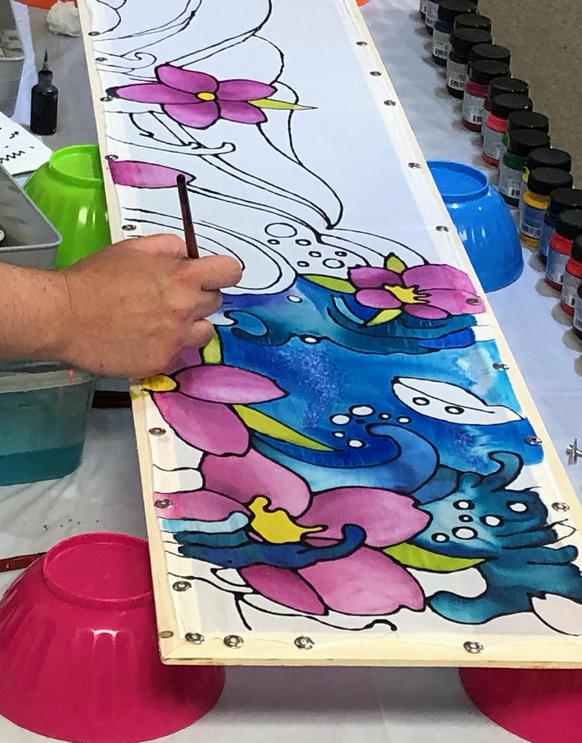
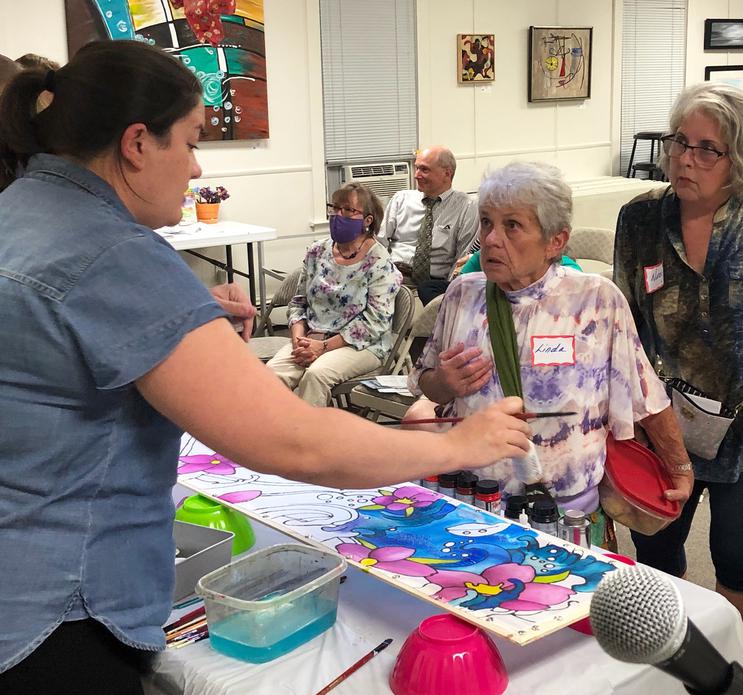
At a recent membership meeting, Alexandra Smith painted on habotai silk, stretched on a specially made wood frame with tri-point silk pins.
Using Jacquard brand Dye-na-flow opaque paints, black gutta wax resist and the “Serti” technique(meaning fence/closing), she executed a cherry blossom/wave design onto the 11 inch by 60 inch silk scarf.